Sending email from localhost is very useful to quickly test or debug your web application. Setting up the mail function will need a few steps.
Send email using PHP mail()
Create php file
Create send_email_test.php file. Put the following code. It uses the PHP mail() function. By default, it will not work in localhost. To fix it, we need to use the Gmail SMTP server.
Open your browser, go to https://localhost/send_email_test.php
At this point, it is not working yet. We need to follow the steps on the next section.
Use Gmail to send mail from localhost
Previously, we are using the PHPMailer library to send emails from localhost. It is not needed anymore. You can use a Gmail account to send an email from localhost.
Change php.ini
Open your php.ini file. In my case, it is found in the C:\xampp\php directory. Find the following settings and set the values.
Open your sendmail.ini file. In my case, I found it in the C:\xampp\sendmail directory. Find the following settings and set the values. Change YOUROWNEMAIL and YOURGMAILPASSWORD to the account you want to use.
On the upper right, click your image > Manage your Google account.
On the new tab, click Security > Scroll down to "Less secure app access".
Switch on Less secure apps.
Restart XAMPP
Using the XAMPP control panel, turn off Apache.
Close the XAMPP control panel.
Open XAMPP again to restart Apache.
To test if it works, run send_email_test.php on the browser again.
What if it did not work?
You will need to see the Apache error logs and see the exact error message. Here's how:
Open XAMPP control panel.
On the Apache module, click "Logs" button.
On the drop-down, click "Apache (error.log)"
A notedpad will show up, it will show you the list of errors.
https://www.codeofaninja.com/wp-content/uploads/2019/03/codeofaninja-with-text-3-1030x206.png00Mike Dalisayhttps://www.codeofaninja.com/wp-content/uploads/2019/03/codeofaninja-with-text-3-1030x206.pngMike Dalisay2022-03-15 20:36:372022-03-21 13:44:15How to send mail from localhost in PHP using XAMPP?
Our new member's area is now live! Our member's area is currently only for our customers who purchased any of our source codes.
Once you register and log in, you can see the list of all your purchases in one place. No need to repeatedly scan your email for your purchases.
You can also download the latest version of the source codes anytime because it is now connected to our code repository. No need to ask for the latest version.
Welcome to our unique JavaScript tutorial series, tailored explicitly for beginners interested in building a shopping cart application.
In this JavaScript tutorial for beginners, we will skip the traditional introduction to the basics of JavaScript syntax, variables, data types, and operators.
Instead, we will dive right into the essential features of JavaScript crucial for creating a web application, precisely a shopping cart.
Through hands-on examples and real-world projects, we will guide you step-by-step as you learn the language and gain the skills needed to build your interactive web applications.
JavaScript and its history
Before we start coding, I want to tell you a little about JavaScript and its history.
JavaScript is a programming language commonly used to add interactive elements to websites. It allows developers to create drop-down menus, pop-up windows, and interactive forms.
For example, when you click on a button on a website and a pop-up window appears, JavaScript likely powers that.
JavaScript was first created in 1995 by Brendan Eich, a programmer at Netscape Communications Corporation. At the time, the World Wide Web was still in its early stages and web pages were primarily used to display text and images.
Eich's goal was to create a programming language to make web pages more interactive and dynamic; thus, JavaScript was born.
It was initially called Mocha, then LiveScript, before finally being named JavaScript.
Code examples
Sorry! We're still working on this tutorial. But the second part of our JavaScript tutorial series is already released. Learn our simple REST API with PHP tutorial here.
Please subscribe so we can let you know once the beginner tutorial is officially released.
https://www.codeofaninja.com/wp-content/uploads/2019/03/codeofaninja-with-text-3-1030x206.png00Mike Dalisayhttps://www.codeofaninja.com/wp-content/uploads/2019/03/codeofaninja-with-text-3-1030x206.pngMike Dalisay2020-07-06 02:28:282023-01-24 15:21:20JavaScript Tutorial for Beginners – Step By step guide!
Previously, we learned how to run our first PHP script. Today we'll learn our Bootstrap Tutorial for Beginners to make our application look presentable the fastest way possible.
Overview
Bootstrap is a CSS framework that will make your web application look good, fast, and responsive. You won't have to worry about having a decent user interface when you use it.
I love Bootstrap because it solves a problem that I have. I'm not good at designing web app user interfaces. That is why I made this Bootstrap tutorial for beginners.
As proof, you will see that we are using Bootstrap in most of our tutorials. Here are some good-looking websites or web apps built with the help of Bootstrap: http://expo.getbootstrap.com
Just a little history, Bootstrap was created on Twitter. It was called Twitter Bootstrap to streamline their development. Thanks to these people, the library is still in active development.
The following sections will be your step-by-step guide to your first web development with Bootstrap.
Using Bootstrap CDN means that we will not download and store the bootstrap files on our server or the local machine. We will include the Bootstrap CSS and JavaScript links on our web page.
Write HTML5 boilerplate
Create new index.html file. Open the file, place the following code and save it.
<!DOCTYPE html>
<html lang="en">
<head>

    <meta charset="utf-8">
    <meta http-equiv="X-UA-Compatible" content="IE=edge">
    <meta name="viewport" content="width=device-width, initial-scale=1">

    <title>Bootstrap Tutorial for Beginners</title>

    <!-- Bootstrap CSS will be here -->
</head>
<body>

<!-- navigation bar will be here -->
<!-- container bar will be here -->

<!-- Bootstrap JavaScript will be here -->

</body>
</html>
Our output on this section is a blank page. We do not have any contents inside the body tags. Comments are not displayed, of course.
But if we view the source, we actually made some progress!
Include Bootstrap CSS
On index.html file, replace <!-- Bootstrap CSS will be here --> with the following code.
Output? Still a blank page. But let's view the source.
Add a navigation bar
Bootstrap Navbar, also called navigation header, is so cool. They look good on the desktop and on any mobile device. Your users won't get lost on your website if you use them properly.
On index.html file, replace <!-- navigation bar will be here --> with the following code.
As you may have noticed, we used a div tag with a row and then col-sm class. This class enables the Bootstrap Grid System. Grid systems are used for creating page layouts through a series of rows and columns that house your content.
Output shows our heading.
Add a table
Our Bootstrap Table will hold form elements like a text box. The Bootstrap table looks good and has hover effects as well.
On index.html file, replace <!-- table will be here --> with the following code.
Admin or dashboard themes will allow you to focus on developing the core functions of your web application. You can find Bootstrap dashboard themes here.
If you decide to study more source codes about bootstrap and want to build a website using it, you can find Bootstrap website templates here.
What's Next?
Now that we know how to make our web application look good and how to run a PHP script, we will learn how to create, read, update, delete, and search data from the MySQL database.
Don't just take our word for it. See what our students have to say about our tutorials and source codes. We are proud to have helped many individuals and businesses to build their own applications. Here are a few of the testimonials from our satisfied students.
★★★★★ “Wow, I love you guys! The best web programming tutorial I’ve ever seen. So comprehensive, yet easy to follow. I love how you combine all necessary elements in such a neat structure.” ~ Olaug Nessa
★★★★★ “The fact that you’ve put it all together saves so much time and its worth buying the code. Makes me feel good supporting a developer like yourself. Keep up the good work!” ~ Dan Hudson
★★★★★ “Thanks for making these awesome tutorials! I bought your source codes. To be honest, it’s very readable code and helps me understand a lot of things and how it’s done in PHP. Thanks for that again.” ~ Michael Lammens
★★★★★ “Hey Mike, my name is Leonardo from Argentina. I’ve been reading your blog since like 4 months from now, and I really must say: your tutorials are very good, they has helped me in many of my works… Well, thank you very much man. I really admire your work.” ~ Leonardo
★★★★★ “Words can’t express how grateful I am for the work and the articles you post, had some troubles with doing somethings but your articles as per usual hit the hammer right on the head. They are a great way for expanding upon later too!” ~ Jeremy Smith
Got comments?
At codeofaninja.com, we strive to provide our readers with accurate and helpful Bootstrap Tutorial for Beginners – Step By Step Guide! Your feedback is essential in helping us achieve this goal.
If you have encountered any issues with the code, have suggestions for improvement, or wish to provide praise, we welcome you to leave a comment below. Please be as descriptive as possible to address your concerns effectively and include any relevant error messages, screenshots, or test URLs.
We request that comments remain on-topic and relevant to the article above. If your question or comment pertains to a different topic, we recommend seeking assistance elsewhere.
Furthermore, we ask that you review our code of conduct before commenting to ensure that your feedback is constructive and respectful.
Thank you for taking the time to provide feedback and for supporting codeofaninja.com. Your contributions help us improve our tutorials and serve the developer community better.
Subscribe for FREE!
Improve your web development skills and stay ahead of the competition by subscribing to our tutorial series. Sign up for FREE and access exclusive, cutting-edge content delivered straight to your inbox.
Take advantage of the chance to elevate your skills and advance your web development career. Subscribe now.
Thank You!
We hope you've found our Bootstrap Tutorial for Beginners – Step By Step Guide! helpful and informative. We understand that learning new programming concepts can be challenging, but we're glad we could make it easier for you.
Thank you for choosing to learn with us and for supporting codeofaninja.com! Consider sharing this tutorial with your friends and colleagues who may also be interested in learning about Bootstrap Tutorial for Beginners – Step By Step Guide!
The more people know about our tutorials, the more we can help the developer community grow. Keep learning, keep coding, and keep growing as a developer. We can't wait to see what you'll create next!
https://i0.wp.com/www.codeofaninja.com/wp-content/uploads/2014/05/bootstrap-tutorial-beginners-step-step.jpg?fit=1200%2C628&ssl=16281200Mike Dalisayhttps://www.codeofaninja.com/wp-content/uploads/2019/03/codeofaninja-with-text-3-1030x206.pngMike Dalisay2014-05-20 14:09:472023-01-27 14:15:18Bootstrap Tutorial for Beginners – Step By Step Guide!
Hey guys! I'm sorry to disappoint you but I'm not going to publish some codes today. I was invited to be a guest speaker at our institute's student congress with the alumni - for the second time. It was held yesterday, January 23, 2014 in the Technological Institute of the Philippines, QC.
I was with my batch-mate/schoolmate Mark Kevin and Jasmine for the Information Technology student program. It's good to see them, the students, my college and professors!
Here are some of the things I remember telling our students or audience.IntroductionGood day everyone!First, I wanna thank all the organizers of this event (OSA, the Alumni Office, etc.) for inviting me here (especially Ms. Isip!) for the second time (I was invited last January 2011) to see and speak to you guys. I hope everyone is having a great day so far.We were invited here to speak to you about “where are we now?” - since the time we graduated from this institution. In my case, I will talk about the things I experienced after college, not during our college. But if you have some questions during my college life, that's really fine too.Who am I?
I want to introduce myself. My name is John Michael Vincent D. Dalisay. Such a long name right? My parents make it hard for me to write it during my elementary days.
You can call me “Mike”. I’m 23 years old, from Antipolo City. A graduate of Bachelor of Science in Information Technology batch 2010, April.Current Position and CompanyI’m currently working as a Senior Software Developer for an IT solutions provider here in Quezon City. Our company is called “Eacomm Corporation”. I have been with the company for almost three and a half years now - and I’m glad that everything is still doing great in our company.
Eacomm corporation has be around since 2001. Our company is not that big. But it is stable. We always have cool projects that you can be excited to work on.
Since I joined the company, I personally worked with government agencies (DOLE), educational institutions (UP, Ateneo), and dozens of small and medium scale businesses (Canadian Hospitality Institute, Cafe Sweet, Calleza Grill). Business is good.
Junior Years
During my Junior years in the company, I worked mostly on client (such as the above) and company owned websites - philippinecompanies.com, eforuli.com, eacomm.com. I mostly worked with the back-end stuff such as database and web programming.I’m not a graphic or web designer. I worked with a graphic designer for every website’s visual design. I was a Junior Software Developer for over two years, from August 2010 up to December 2012.
Promotion and high pay is not in my mind. The pay is just fine for me (it increases every 3 or 6 months anyway, depending on your performance). I know I have lot to learn in my field and being a Junior Software Developer for more than two years seems so fit.
I’m happy acquiring new knowledge, improving my skills in programming and software development and everything in the real-life learning process.One Step Forward
On December 2012, I signed some new papers. I was promoted as a Software Developer. I’m not a Junior anymore. This was effective January 2013.
It was the year when I almost stopped working with client and company websites (although sometimes they need some support).2013Year 2013 was an awesome year for me. Good thing that the 2012 judgement day was cancelled. Just kidding.
It was the year when we signed with a big project - from being an experimental project. Our client is in the sales and marketing industry. He wanted to change the way we think about sales people, making them more technical and cope up with the digital age.
The project is “Software as a Service” or Saas, we are, of course, using the cloud, web and mobile technologies for this project. I can’t tell you more about this project due to some legal issues.
I also worked with Google Singapore. I developed a data collection app to improve Google Maps. The final demo came and a product manager from Google came to the Philippines.
Her name is Ms. Autumn Zhang. She was also a former Software Engineer at Google - worked on Google Maps features like "My Maps".
We were also nominated to the 2014 Mobile Premier Awards at the Mobile World Congress in Barcelona, Spain this February 2014.Another Beautiful StepJust recently (December 2013), I signed some new papers again. I was promoted to a Senior Developer level effective this January 2014. I’m so happy that something good is happening in my career. I want to be a better leader and software developer.
Future Career Plans
Like what most people say, I want to have my own company, my own business. Maybe after some few more years, I’ll step into this stage of my life. The reality is, I don’t want to be an employee my whole life.
I want to build something awesome, useful to people and make my own money from it. I want to be an entrepreneur. My primary business will be in the IT field and after that, I will venture into food and real estate.
Good Advise
Be humble. If you're humble, you'll be like a sponge, absorbing lessons not only from school but also from life. If you're humble, you can always learn new things and it will make you a better person. You'll be smarter. You'll be happier. If you're humble, you will receive more, and so you can give more - it feels wonderful.
Just do it. Start doing what you have to do. You'll always figure it out. Most of us procrastinate thinking we can't do it. This is also your chance to hone your skills and sharpen you mind for the real life, or in the industry after your college studies.Good Quotes
Aside from my very inspirational and interesting story, I also want to present some awesome words from some well-known names in the tech industry. You can use it for your career.
"Your work is going to fill a large part of you life, and the only way to be truly satisfied is to do what you believe is great work." ~ Steve Jobs, Apple
"Always deliver more than expected." ~ Larry Page, Google
"When you innovate, you've go to be prepared for everyone telling you you're nuts." ~ Larry Ellison, Oracle
"What really motivates people at Facebook is building stuff they're proud of." ~ Mark Zuckerberg, Facebook
"Success is a lousy teacher. It seduces smart people into thinking they can't lose." ~ Bill Gates, Microsoft
"A brand for a company is like a reputation for a person. You earn reputation by trying to do hard things well." ~ Jeff Bezos, Amazon
Industry Testimonials
End.
Below is the power-point version of my presentation.
Alright, that was my short talk! I didn't have enough time to tell them something more since it's already 6:15 PM and 6:00 PM was the dismissal. I saw in their eyes that they want more, but the time is up.Funny moments include their interest in my love life. My power-point presentation was web based, sometimes, the internet connection is really slow so we wait for some slides to load. While loading, they wanted me to say something about my love life. I was just smiling at them and saying something else. Haha! I said we were there to encourage and tell them about the IT industry.It feels so good knowing that you have a positive impact to the lives of others. Those students, I know they listened carefully. The asked questions. I feel their interest. They are amazed. It feels like I'm giving them something to look forward too and so they will keep on moving forward!
After the talk, I was assisted by a student officer to the dining room and have a dinner with our professors, student officers, and colleagues. The food was good.
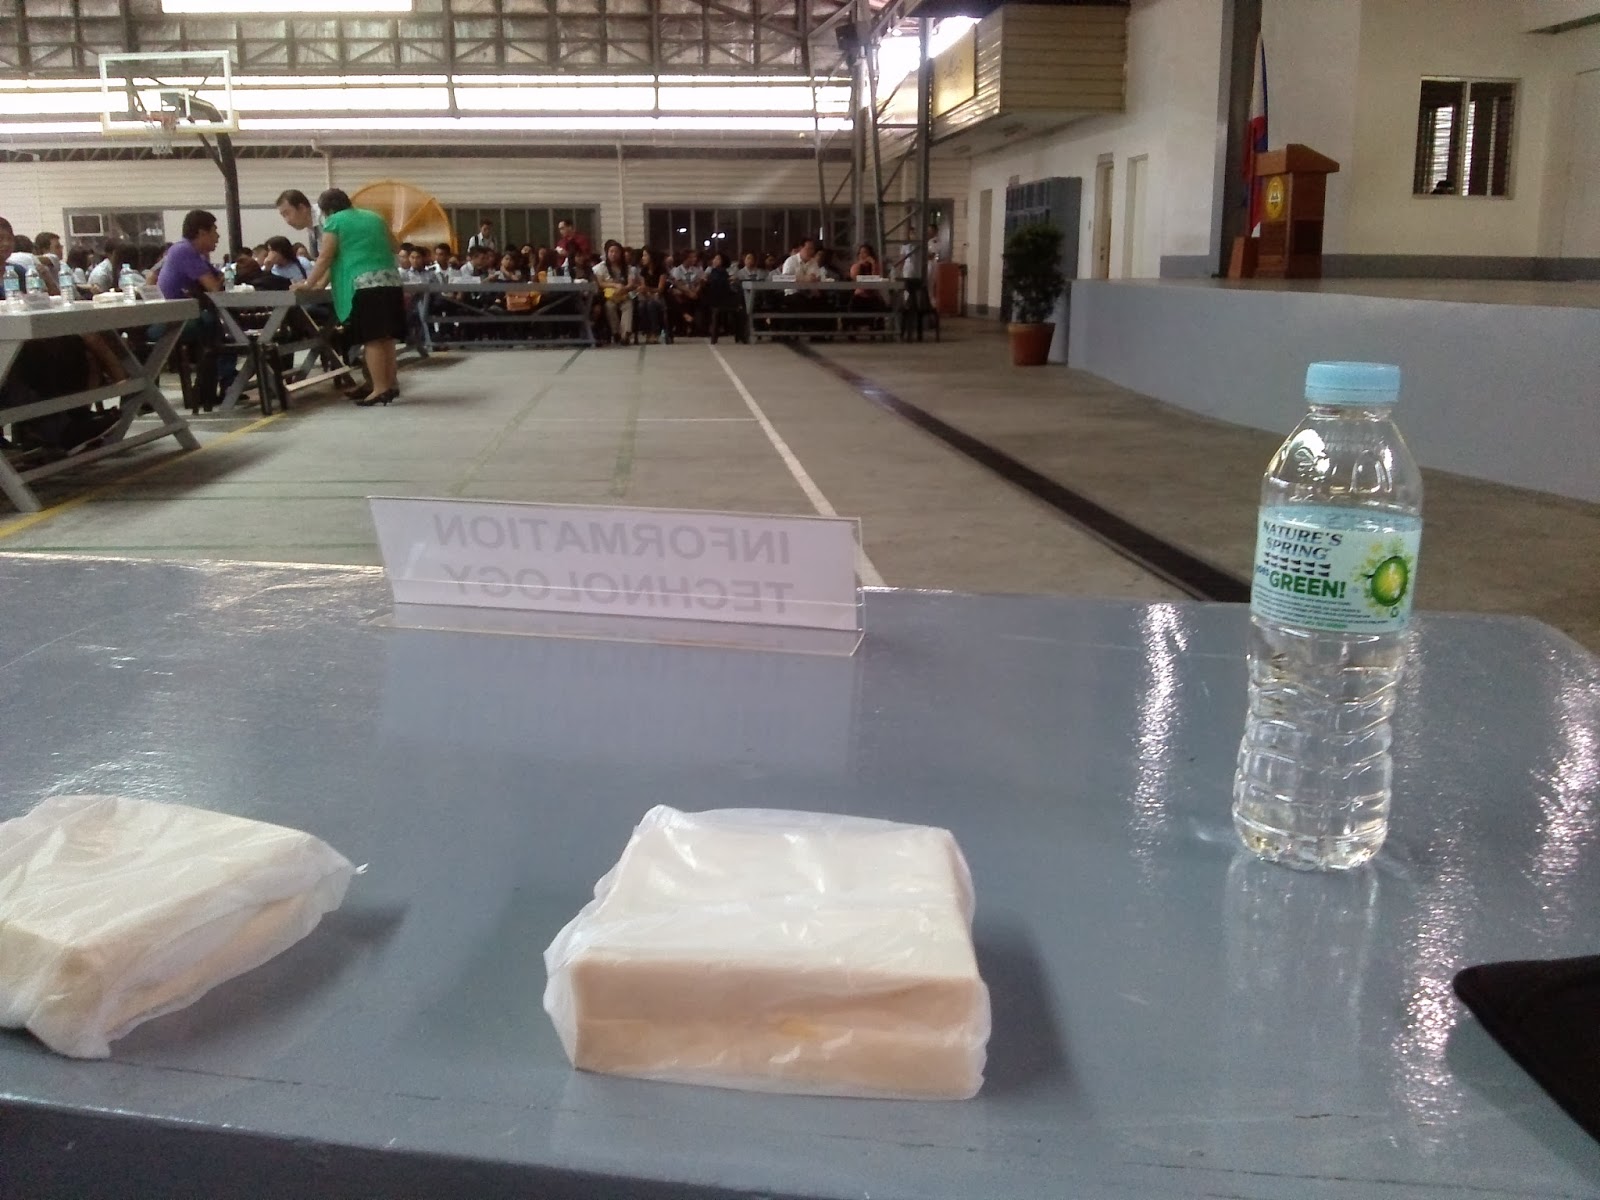
Here are some more pictures from the event.
Student officer Jason and Jasmine.
On our dinner table.
Me and Jasmine.
They also gave the alumnus some TIP stuff...
...and a certificate of appreciation.
Thanks for reading! If you're one of the students there, I hope I inspired you. Again, thanks for listening.
https://www.codeofaninja.com/wp-content/uploads/2019/03/codeofaninja-with-text-3-1030x206.png00Mike Dalisayhttps://www.codeofaninja.com/wp-content/uploads/2019/03/codeofaninja-with-text-3-1030x206.pngMike Dalisay2014-01-24 13:15:002021-07-21 09:43:584th TIP Student Congress with the Alumni – 2014
To download Emmet, visit the download page and choose your favorite editor. Here, I am choosing bracket as my code editor.
WORKING WITH EMMET
Working with Emmet is quite an easy task. We just have to wite the abbreviations and expand it by pressing Ctrl + Alt + Enter (Only in Brackets, for other please check the settings of your code editor.) Let’s start with a simple example.
Write the following code in brackets:
Ul>li*4>img
Now press Ctrl + Alt + Enter to expand, make sure your cursor is at the end of this line. After you have expanded it, the result will be something like this:
Boom! Are you amazed? It generates list items under unordered lists and also creates image tags for each li with alt attribute. This was really quick. Now, let’s specify an "id" for our ul and make the HTML Markup for a random navigation. In Brackets, write the following code:
ul#nav>li*5>a{Page $}
In this case we write #nav as our id of ul tag. You might have noticed that I used {Page $} after anchor tag, that is because I want to make random names for my list items, where “PAGE” will remain constant and the numbers will increase from 1 to 5. Now expand this. And we get something like this:
So! That was cool, wasn’t it? Play around with different tags and use Emmet to the fullest.
THE ULTIMATE MAGIC
Ok, here is the ultimate magic! What if you want to make the HTML code for the whole page which has all the normal elements including logo, navigation and footer? Surprise! I have the code which I made after researching and playing around with Emmet. And here it is:
Before we expand, let me explain a couple of things. Html:5 is used to define the html 5 doctype. We have used + operator between mainLogo and ul and a couple of more times to place the tags on the same level. We have used ^^^ to shift the level of different ids slightly above. To make it clear play around with these and test what happens when you reduce or increase the number of exponents. Now, let’s expand our abbreviation. So here is how our HTML code looks after expanding:
Cool isn’t it? You can change the ids according to your need and add or subtract the elements as per your choice. So good luck with Emmet and hope you code faster from now onwards!
VIDEO RESOURCE
If you have any queries, feel free to drop your comments below.
About Aditya Kanodia
My name is Aditya Kanodia. I am based in New Delhi, the capital of India. I am a web designer and love fresh and innovative designs. I love to code and have an expertise in HTML5 and CSS3.
https://www.codeofaninja.com/wp-content/uploads/2019/03/codeofaninja-with-text-3-1030x206.png00Mike Dalisayhttps://www.codeofaninja.com/wp-content/uploads/2019/03/codeofaninja-with-text-3-1030x206.pngMike Dalisay2013-11-13 16:21:002021-07-21 09:01:53Code Ultra Fast with Emmet
Hey guys! Today we have a guest post about some tips on how to speed up your website! He's currently working for an e-commerce website and one of his tasks is to make the site load fast. So enjoy reading below! ~ Mike
Website speed becomes an obsession of search engines like Google and one of the reasons is the rapid growth of mobile internet browsing. If you're working with the https://www.igloosoftware.com/product/integrations/org_chart_now/ (developers, designers, bloggers and students), it is now a requirement to have knowledge in making a website load fast, and our post for today will give you some ideas on why and how to achieve it.
MUST READ NOTE FROM GOOGLE
"Speeding up websites is important — not just to site owners, but to all Internet users. Faster sites create happy users and we've seen in our internal studies that when a site responds slowly, visitors spend less time there. But faster sites don't just improve user experience; recent data shows that improving site speed also reduces operating costs. Like us, our users place a lot of value in speed — that's why we've decided to take site speed into account in our search rankings. We use a variety of sources to determine the speed of a site relative to other sites."
WEBSITE SPEED AND PERFORMACE
Pagespeed Insights - analyzes the content of a web page, then generates suggestions to make that page faster.
Pingdom Website Speed Test - one of the most reliable website speed tester, you can test the load time of your page, analyze it and find bottlenecks.
Yslow – is also a plugin that grades website and gives statistical information of your website performance.
GTmetrix – provides result right away and suggest necessary improvement for your website
Weboptimization - analyzes and gives detailed recommendations for site improvement as well as your web page speed report.
IMAGE OPTIMIZATION
Photoshop - when saving your photo choose the option "Save as for Web and Devices" (see Mike's post here for a more detailed instruction). Compare the result of your image to its original size; see also if the visual quality changed. In my example image, this is the result of my tests.
JPG, 60 quality - 32K
PNG-8, 256 colors - 37K
GIF, 256 colors - 42K
PNG-24 - 146K
Yahoo Smush.It - "drag or paste your photo urls". It is a "lossless" tool, which means it optimizes the images without changing their look or visual quality.
Image optimizer - is also a free tool and can compress image in bulk.Tip: Crop white spaces of images and other unnecessary pixels to reduce file size of your file.
COMPRESS YOUR HTML, CSS AND JAVASCRIPT
HTMLCompressor – is a small java library that minifies codes in html and xml by removing unnecessary characters and whitespaces without changing your codes.4.2JSCompress - copy paste your javascript code and compress it online to reduce 30% to 90% unneeded characters or comments.4.3Prettydiff – Minify, beautify and compare your code online. This tool is used by W3.org and Travelocity.
MinifyCSS – has css and javascript compression tool. It helps you clean and compress codes without manipulating or installing other applications. Copy paste and submit your code online then get the same result right away.Note: If you already use gzip, you don’t need to use some of the tools recommended above.
PERFORMANCE BEST PRACTICES
Scripts
Script position - always put your JavaScripts at the end of your HTML document, usually before the ending tag. What it does is it loads the more important content of your page (like images, text, etc.) before the scripts, and that makes your page load faster.
Use external CSS instead of inline CSS.Good practice:
Cache - Cache your web pages. This is very important specially to an e-commerce website and those sites that have a lot of visitors daily.
Comment Box – If you guys use comment box system, please lazy load it so that it will load only when the user reaches the lower part of your page.
CDN (content distribution/delivery network)
Some may not be familiar with Google CDN but take a moment to learn and take advantage to use the Hosted Libraries.
Cloudflare - we used this in our ecommerce site and other sites for almost 3 years and so far, we are secured and it is free of charge but they also offer advance services with fee.
Use HTML5 codes that gives you a solution for faster page performance and integrationOur HTML5 sample:
<!DOCTYPE html>
Instead of:
DOCTYPE html PUBLIC "-//W3C//DTD XHTML 1.0 Transitional//EN" "http://www.w3.org/TR/xhtml1/DTD/xhtml1-transitional.dtd">
Note: Some tutorials for you to learn HTML5 are my favorite sites when I was starting w3schools and in advance learning html5 rocks tutorials.
HOSTING SERVICES
Check your Hosting Services if they provide you the best hosting solution and better web performance. You can test their website using the above tools. Shared hosting are usually the worst, especially if your website has a lot of visitors, you should have a dedicated server.Thanks guys for reading my insights, I hope you get new techniques in improving your website speed or projects. Let’s help one another to become a better designer and developer.Feel free to comment and subscribe to our tutorials.
https://www.codeofaninja.com/wp-content/uploads/2019/03/codeofaninja-with-text-3-1030x206.png00Mike Dalisayhttps://www.codeofaninja.com/wp-content/uploads/2019/03/codeofaninja-with-text-3-1030x206.pngMike Dalisay2013-11-10 13:06:002021-07-21 09:12:14Google said “The web should be fast”: How to Optimize Your Website for Speed
Hey guys! How are you? I just want to have this quick post as an announcement that finally, our code blog is now responsive! The growth of mobile browsing is massive, and we want to keep up!Regarding the codes, I used the same principle with our post on how to code a responsive website. It might be a little harder if you're using a Google blogger platform, but you can do it if you're really determined! I was a little challenged but it was fun!
We also made this blog a little faster now, if you're interested, we'll have another post with a topic on how to make your website load faster based on our experience with this site.
Okay so now we'll give you some views as proof that our website is now responsive. See some screenshots below! Actually, you can also just test it yourself by re-sizing your browser window. Haha!
Using an Online Testing Tool
Using online responsive website testing tools helps a lot. You didn't have to own those devices you want to have your tests.
I took some screenshots to see how our blog page is rendered. Unfortunately, I only have two mobile devices, one is my Samsung Galaxy Tab 10.1 and LG P880 phone.
Tablet (Portrait)
Tablet (Landscape)
LG Smartphone (Portrait)
LG Smartphone (Landscape)
This is a beta version of our responsive code blog. I know there are other improvements that can be done. I will appreciate any comments or suggestions from you guys, drop it in the comments section below!
https://www.codeofaninja.com/wp-content/uploads/2019/03/codeofaninja-with-text-3-1030x206.png00Mike Dalisayhttps://www.codeofaninja.com/wp-content/uploads/2019/03/codeofaninja-with-text-3-1030x206.pngMike Dalisay2013-11-05 14:34:002021-07-21 09:45:17Our Code Blog is Now Responsive!


